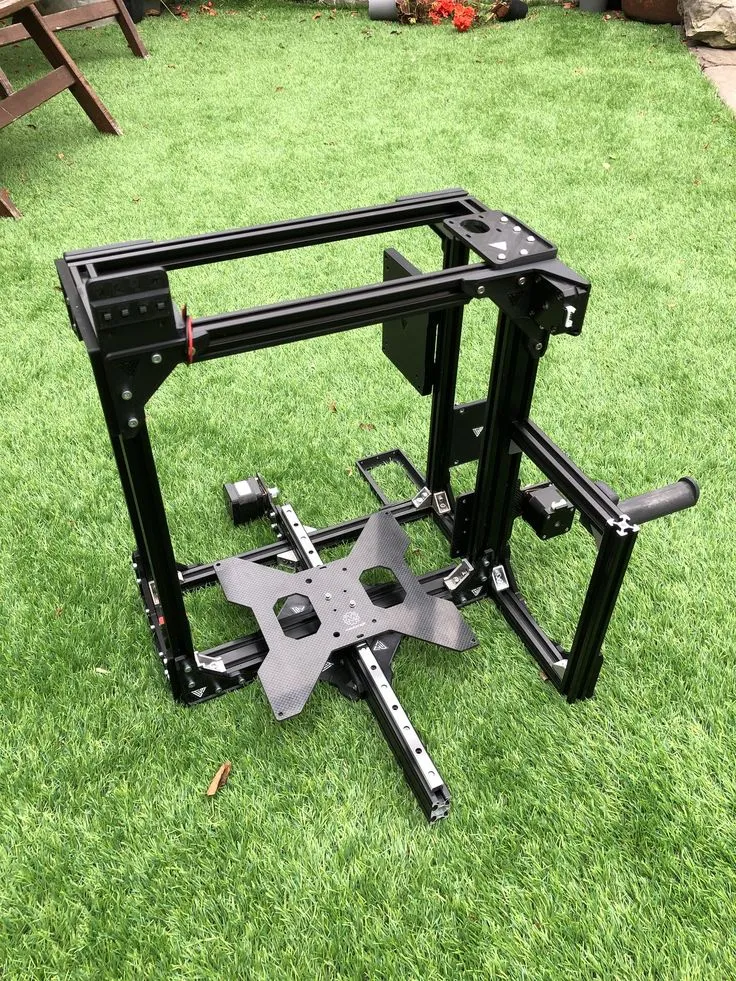
Understanding the Tevo Tarantula Z-Axis Challenges
The Tevo Tarantula is a popular and affordable 3D printer, known for its ease of use and large build volume. However, the Z-axis, responsible for vertical movement, can be a source of frustration for many users. The original design often suffers from issues that impact print quality, precision, and overall stability. These challenges arise from the inherent limitations of the stock components and the printer’s mechanical design. Understanding these weaknesses is the first step toward achieving better prints and enjoying the full potential of your Tevo Tarantula. Common problems include Z-wobble, layer shifting, and inconsistent layer heights, all of which can ruin a print. These issues often stem from flex in the Z-axis components, misalignment, and the limitations of the Z-axis motor and lead screws. By addressing these challenges, you can significantly improve the performance of your printer.
Why Upgrade Your Tevo Tarantula Z-Axis?
Upgrading the Z-axis on your Tevo Tarantula is a worthwhile investment that directly translates to improvements in your prints. Upgrading the Z-axis is a gateway to achieving the best prints. The improvements extend beyond mere aesthetics to include functional aspects that can transform your 3D printing experience.
Improved Print Quality

One of the most noticeable benefits of a Z-axis upgrade is a significant enhancement in print quality. By reducing Z-wobble and improving layer consistency, your prints will exhibit smoother surfaces, sharper details, and more accurate dimensions. This is particularly critical for printing detailed models, functional parts, or any object where precision is paramount. Reduced Z-wobble eliminates the rippling effect on the sides of your prints, resulting in a much cleaner and more professional finish. Improved layer consistency ensures that each layer is deposited uniformly, preventing the banding effect often seen on stock printers and leading to prints that are both visually appealing and structurally sound.
Increased Stability
Upgrading the Z-axis also contributes to the overall stability of your 3D printer. A more stable Z-axis reduces vibrations and movement during printing, which can lead to fewer print failures and more reliable operation. This increased stability is especially important for long prints, where even minor vibrations can accumulate over time and cause problems. By minimizing the effects of external disturbances and inherent mechanical weaknesses, an upgraded Z-axis ensures that your printer operates smoothly and consistently, thereby contributing to more reliable and predictable results. A stable Z-axis setup ultimately saves time, material, and the frustration of failed prints.
Top 5 Tevo Tarantula Z Upgrade Tips
1. Sturdy Z-Axis Rods

One of the most impactful upgrades you can make is to replace the original Z-axis rods with sturdier ones. The stock rods on the Tevo Tarantula are often prone to flex and bending, which contributes directly to Z-wobble and inconsistent layer heights. Upgrading to high-quality, precision-ground rods made of hardened steel significantly reduces flex and provides a much more stable platform for the print head. This upgrade is crucial for eliminating the most common Z-axis problems and will drastically improve the print quality of your models. Consider the diameter and material of the rods, with larger diameters and higher-quality materials generally offering better performance. This will provide a solid foundation for your Z-axis.
Choosing the Right Z-Axis Rods
When selecting Z-axis rods, look for precision-ground rods made from high-quality steel. The diameter of the rods is also important; larger diameters offer greater rigidity. Many users find that 8mm or 10mm rods provide a noticeable improvement over the stock 6mm rods. Consider rods made from materials like stainless steel for durability and resistance to wear. Check for straightness and ensure the rods are free of defects, as any imperfections can affect print quality. Also, the length of the rods must match the height of your printer. Buying pre-cut rods will save you the trouble of cutting and measuring the rods yourself.
Installation and Alignment
Proper installation and alignment are crucial to realize the benefits of your new Z-axis rods. Ensure that the rods are perfectly parallel and perpendicular to the bed. Use a level and a straight edge to check the alignment. Start by loosening the Z-axis motor mounts and couplers, then carefully insert the new rods, making sure they sit squarely in their respective bearings. Tighten the motor mounts and couplers after aligning the rods. Consider adding additional support, such as a top Z-axis brace, to further increase stability. Proper alignment will eliminate any potential binding or friction that could negatively affect print quality. Regularly check the alignment to ensure that it remains consistent.
2. Upgrade the Z-Axis Couplers

The couplers that connect the Z-axis motor shafts to the lead screws play a critical role in the overall Z-axis performance. The stock couplers are often made of flexible materials that can introduce play and misalignment, resulting in Z-wobble. Upgrading to rigid or flexible couplers can significantly improve print quality by eliminating these issues. These couplers are responsible for transferring the rotational motion of the motor to the lead screw, which in turn moves the print bed or the print head up and down. A good coupler ensures that the lead screw rotates smoothly and precisely, preventing any unwanted movement or oscillations.
Why Upgrade Couplers?
Upgrading the Z-axis couplers offers several advantages. It eliminates backlash and play between the motor shaft and the lead screw, which is often present in stock couplers. It also improves the overall precision of the Z-axis movement, leading to more accurate layer heights. Upgraded couplers are often made of materials such as aluminum or stainless steel that do not flex or deform under load. This results in smoother and more precise Z-axis movements, reducing the likelihood of Z-wobble. These benefits contribute to improved print quality and greater dimensional accuracy.
Types of Couplers
There are two primary types of Z-axis couplers flexible and rigid. Flexible couplers are designed to accommodate slight misalignments between the motor shaft and the lead screw. Rigid couplers offer higher precision and stability, but they require perfect alignment. Consider flexible couplers made of materials like aluminum or stainless steel for an upgrade. Flexible couplers, usually made from spring steel or a similar flexible material, can compensate for slight misalignments, while rigid couplers offer a direct and precise connection.
3. Enhance the Z-Axis Motor

The Z-axis motor is responsible for driving the vertical movement of your print bed. A more powerful and precise motor can lead to better print quality and reduced Z-wobble. Upgrading to a higher-quality motor can provide more torque and better control, allowing for smoother and more consistent movements. This improvement is particularly beneficial when printing at higher speeds or when using heavier print beds. It also reduces the likelihood of skipped steps, which can cause layer shifting. The motor’s performance directly impacts the accuracy and consistency of your prints.
Selecting a Suitable Motor
When upgrading your Z-axis motor, consider the motor’s torque, step angle, and voltage. Higher torque motors can handle heavier loads and provide more precise movements. A lower step angle (e.g., 0.9 degrees) results in finer resolution and more accurate positioning. Ensure the motor’s voltage is compatible with your printer’s electronics. Some users opt for stepper motors with integrated lead screws for improved accuracy and ease of installation. Research the specifications of the existing motor, and choose a replacement that offers increased performance without overloading the printer’s power supply or electronics. Consider the motor’s size and mounting options to ensure compatibility with your printer’s frame.
Motor Driver Considerations
The motor drivers on your printer’s control board determine how precisely your motor moves. Upgrading or adjusting the motor drivers can significantly impact print quality. Consider replacing the stock drivers with higher-quality ones, such as those with micro-stepping capabilities, for smoother and more precise motor movements. If you choose to replace the motor drivers, ensure compatibility with your printer’s control board and firmware. Configure the driver’s current limit to match your motor’s specifications. If your printer allows, adjusting the driver’s micro-stepping settings can improve the resolution of the Z-axis. These settings directly affect the fineness of the motor’s movements and, therefore, the accuracy of the Z-axis. Proper driver settings will help to optimize your new motor’s performance.
4. Fine-Tune Your Firmware

Firmware is the software that controls your 3D printer’s operations, including Z-axis movements. Fine-tuning the firmware settings is essential to optimize the performance of your upgraded Z-axis. The firmware settings directly influence the precision, speed, and overall quality of your prints. By adjusting these settings, you can fine-tune the Z-axis movement to reduce the errors that can cause issues like layer shifts or Z-wobble. It’s also important to configure firmware settings that are specifically designed to compensate for the mechanical aspects of your printer.
Adjusting Steps per mm
One of the most important firmware adjustments is the ‘steps per mm’ setting. This setting determines how many steps the motor takes to move the Z-axis by one millimeter. After upgrading components like the lead screws or motor, you may need to recalibrate this setting to ensure accurate layer heights. Recalibrating the steps per mm will improve print accuracy by ensuring the Z-axis moves the correct distance for each step of the motor. Use the formula (new lead screw pitch / original lead screw pitch) * original steps per mm to calculate new steps per mm. You can also use test prints and measurements to dial in the perfect value. This calibration is critical for achieving the proper layer heights and overall print dimensions.
Implementing Anti-Backlash Settings
Backlash is a mechanical play in the system that can cause inaccuracies in the Z-axis movement. Many firmware packages offer anti-backlash compensation settings to mitigate the effects of backlash. These settings can help improve print quality by ensuring that the Z-axis moves in the correct position. Enable any anti-backlash features in your firmware and calibrate them to the specific components on your printer. This will minimize the impact of the mechanical play on the prints. By implementing anti-backlash settings, you can effectively counteract the looseness in your printer’s Z-axis.
5. Level the Bed Accurately

Proper bed leveling is fundamental for ensuring that the first layer adheres correctly to the bed and lays down a solid foundation for the rest of the print. An accurate bed leveling will lead to successful printing. Accurate bed leveling ensures that the distance between the nozzle and the print bed is consistent across the entire surface. Uneven bed leveling can cause the nozzle to be too close to the bed in some areas and too far away in others. This will create issues with adhesion and lead to poor print quality. Proper bed leveling is crucial for a successful first layer.
Bed Leveling Methods
There are several methods for leveling your print bed, including manual leveling, auto-bed leveling (ABL), and mesh bed leveling. Manual leveling involves adjusting the bed’s leveling screws while using a piece of paper to gauge the distance between the nozzle and the bed. ABL uses a sensor to automatically measure the bed’s surface and compensate for any unevenness. Mesh bed leveling is more advanced, as it allows the printer to create a mesh of the bed’s surface and adjust the nozzle height during printing to follow the bed’s contours. Choose the method that best suits your printer and experience level. Whichever method you use, make sure to level the bed before each print.
Software Assisted Leveling
Many 3D printer firmware packages offer software-assisted leveling features that make the leveling process easier. These features often include prompts that guide you through the leveling process and allow you to save your settings. These features can significantly reduce the time and effort required to level the bed manually. They are beneficial for beginners and those who want to streamline their printing experience. Software-assisted leveling often provides more accurate results than manual leveling alone. Using these features correctly leads to better prints. The software can provide helpful tips and error checks, simplifying the process.
Additional Z-Axis Upgrade Considerations
Beyond the top 5 tips, there are other upgrade options that can improve your Tevo Tarantula’s Z-axis performance. Consider these additional options to enhance your 3D printing experience.
Belt Drive Systems
Belt-driven Z-axis systems can replace the lead screws with a belt and pulley system. These systems can provide faster and smoother Z-axis movements. This upgrade is particularly useful for printers that require faster print times. By using a belt, the Z-axis can move more quickly and with less friction than a traditional lead screw setup. The speed advantage makes this an attractive upgrade, though the installation can be more complex.
Dual Z-Axis Motors
Adding a second Z-axis motor can help to provide more stability and prevent the Z-axis from tilting or binding. This upgrade is particularly useful for larger printers or those printing heavier objects. By distributing the load across two motors, the printer’s Z-axis can move more smoothly and precisely. This dual-motor configuration helps to prevent binding and improve overall print quality. It is a good option for more complex or demanding prints.
Conclusion
Upgrading the Z-axis on your Tevo Tarantula is a journey that can significantly enhance the quality and reliability of your 3D prints. By following these top 5 tips and considering the additional upgrades, you can transform your printer from a source of frustration into a reliable and high-performing machine. Remember to start with the basics, such as sturdy Z-axis rods and upgraded couplers, and then move on to more advanced upgrades. By carefully considering each upgrade and performing proper installation and calibration, you can unlock the full potential of your Tevo Tarantula and achieve impressive print results. Happy printing!