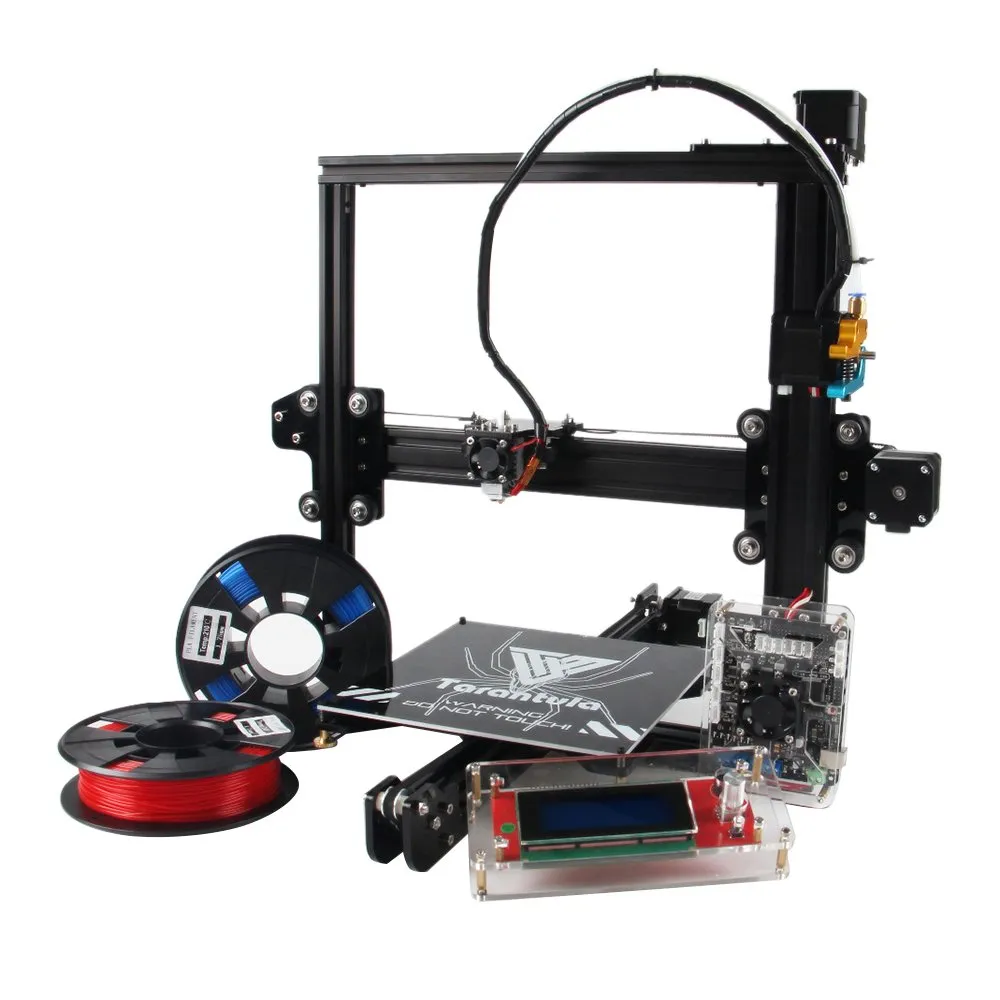
Planning Your Tevo Tarantula Enclosure
Building a Tevo Tarantula electronics enclosure is a rewarding project that enhances the performance and safety of your 3D printer. It provides a controlled environment, reducing warping, improving print quality, and protecting the electronics from dust and accidental damage. Proper planning is crucial for a successful build. This involves considering the printer’s dimensions, selecting appropriate materials, and designing for optimal ventilation. Before you even pick up a tool, sketch out your plans and list the materials. Think about where you will place the printer and if you want to build in additional space to store things like filament. Think about all the potential issues that might come up during the build.
Consider the Size and Dimensions
The first step in planning is determining the enclosure’s size. Measure your Tevo Tarantula precisely, including the bed’s movement range and the height of the Z-axis when fully extended. Add extra space around the printer for comfortable operation and maintenance. A slightly larger enclosure is better than one that’s too small, as it allows for better airflow and accommodates future upgrades. Think about the external dimensions as well, and how much space you have available for the printer and the enclosure. It is always better to have a little more space than you need, especially if you are not familiar with the build process.
Choosing the Right Materials
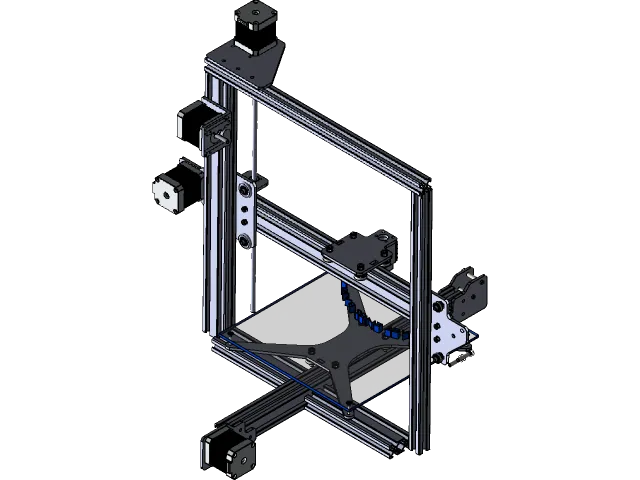
The choice of materials significantly impacts the enclosure’s effectiveness and longevity. Consider factors like heat resistance, ease of construction, and cost. Popular choices include acrylic sheets, wood, and even repurposed materials. Each material has its pros and cons, so weigh your options carefully based on your budget, skill level, and desired aesthetic. Also consider the type of printing you will be doing and any materials you will use. Some materials require specific temperatures, which will affect your material choice. It’s important to choose materials that will stand up to the temperatures you will be working in.
Acrylic vs. Wood vs. Other
Acrylic offers excellent visibility, making it easy to monitor prints. It’s also relatively easy to clean and provides good insulation. However, it can be more expensive and prone to scratches. Wood is a more affordable option and can be easier to work with, especially for DIY projects. It offers good insulation but may require additional sealing to prevent warping and improve fire resistance. Other materials such as polycarbonate are also an option and are heat resistant. The best material depends on the end user and the budget they have for the build. Regardless of the material chosen, ensure it’s non-flammable or treated to be fire-resistant.
The Importance of Ventilation
Proper ventilation is critical to manage temperature and remove harmful fumes. Implement vents, ideally with a fan, to circulate air and prevent overheating. Consider a filtration system to capture particles and odors. The location and size of vents should be calculated according to the enclosure’s volume and the printer’s operating temperatures. A well-ventilated enclosure not only enhances print quality but also protects the printer’s electronics and extends their lifespan. Depending on the materials you are printing with, it might be necessary to install filters. For instance, ABS often requires high temperatures, and it can generate harmful fumes that need to be filtered.
Building the Enclosure
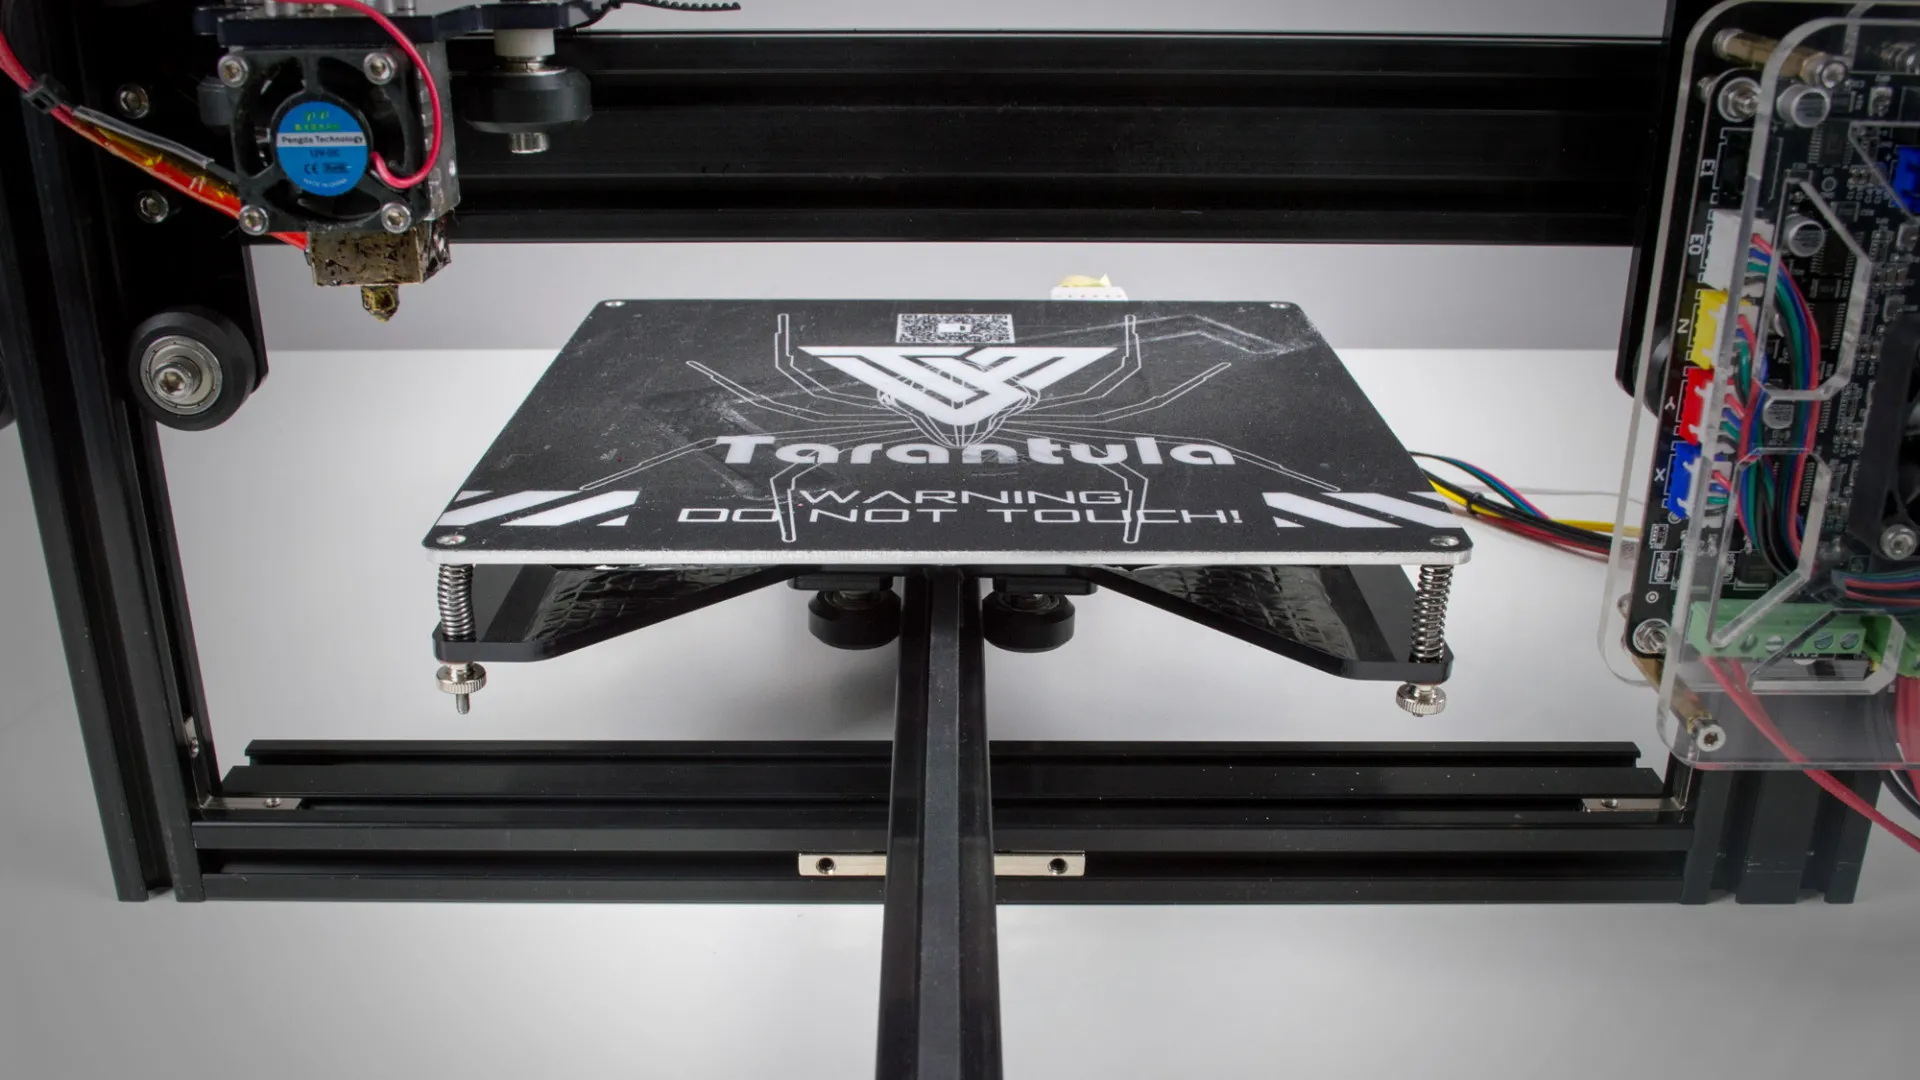
With the planning phase complete, it’s time to build. Gather all your materials, tools, and safety equipment. Prepare your workspace, ensuring it’s clean and well-lit. Carefully follow your design plans, making precise measurements and cuts. Proper assembly is crucial for structural integrity and functionality. Double-check all dimensions before cutting and assembling to avoid errors that could compromise the enclosure’s effectiveness. This phase is critical, so it pays to be patient and precise throughout the build.
Cutting and Assembly
Precise cutting is essential for a professional-looking and functional enclosure. Use appropriate tools for the chosen materials – a saw for wood, a laser cutter or saw for acrylic. Always wear safety glasses and other protective gear. Ensure all corners are square, and joints are secure. Use adhesives, screws, or other fasteners suitable for the chosen materials. Take your time and double-check your measurements before cutting or drilling. It is better to be precise than to have to redo a section because of poor measurements. Accurate measurements will make assembly much easier.
Step-by-step construction guide
- Cut all panels to the sizes determined during the planning stage. 2. Assemble the base frame and sides using screws or adhesive. 3. Attach the top and ensure all joints are flush and secure. 4. Install any windows or doors, ensuring smooth operation. 5. If using a fan, install it now. 6. Secure all joints with appropriate fasteners, and ensure the structure is rigid. 7. Add any finishing touches such as paint or trim.
Sealing the Enclosure
Sealing the enclosure is vital for controlling the internal environment. Seal all gaps and seams to prevent drafts, maintain consistent temperatures, and contain odors and fumes. Use appropriate sealants, such as silicone caulk or weatherstripping. Pay close attention to door and window seals to ensure a tight fit. A well-sealed enclosure significantly improves print quality by reducing temperature fluctuations and improving layer adhesion. Proper sealing ensures the effectiveness of your enclosure and the safety of your workspace.
Electronics and Wiring
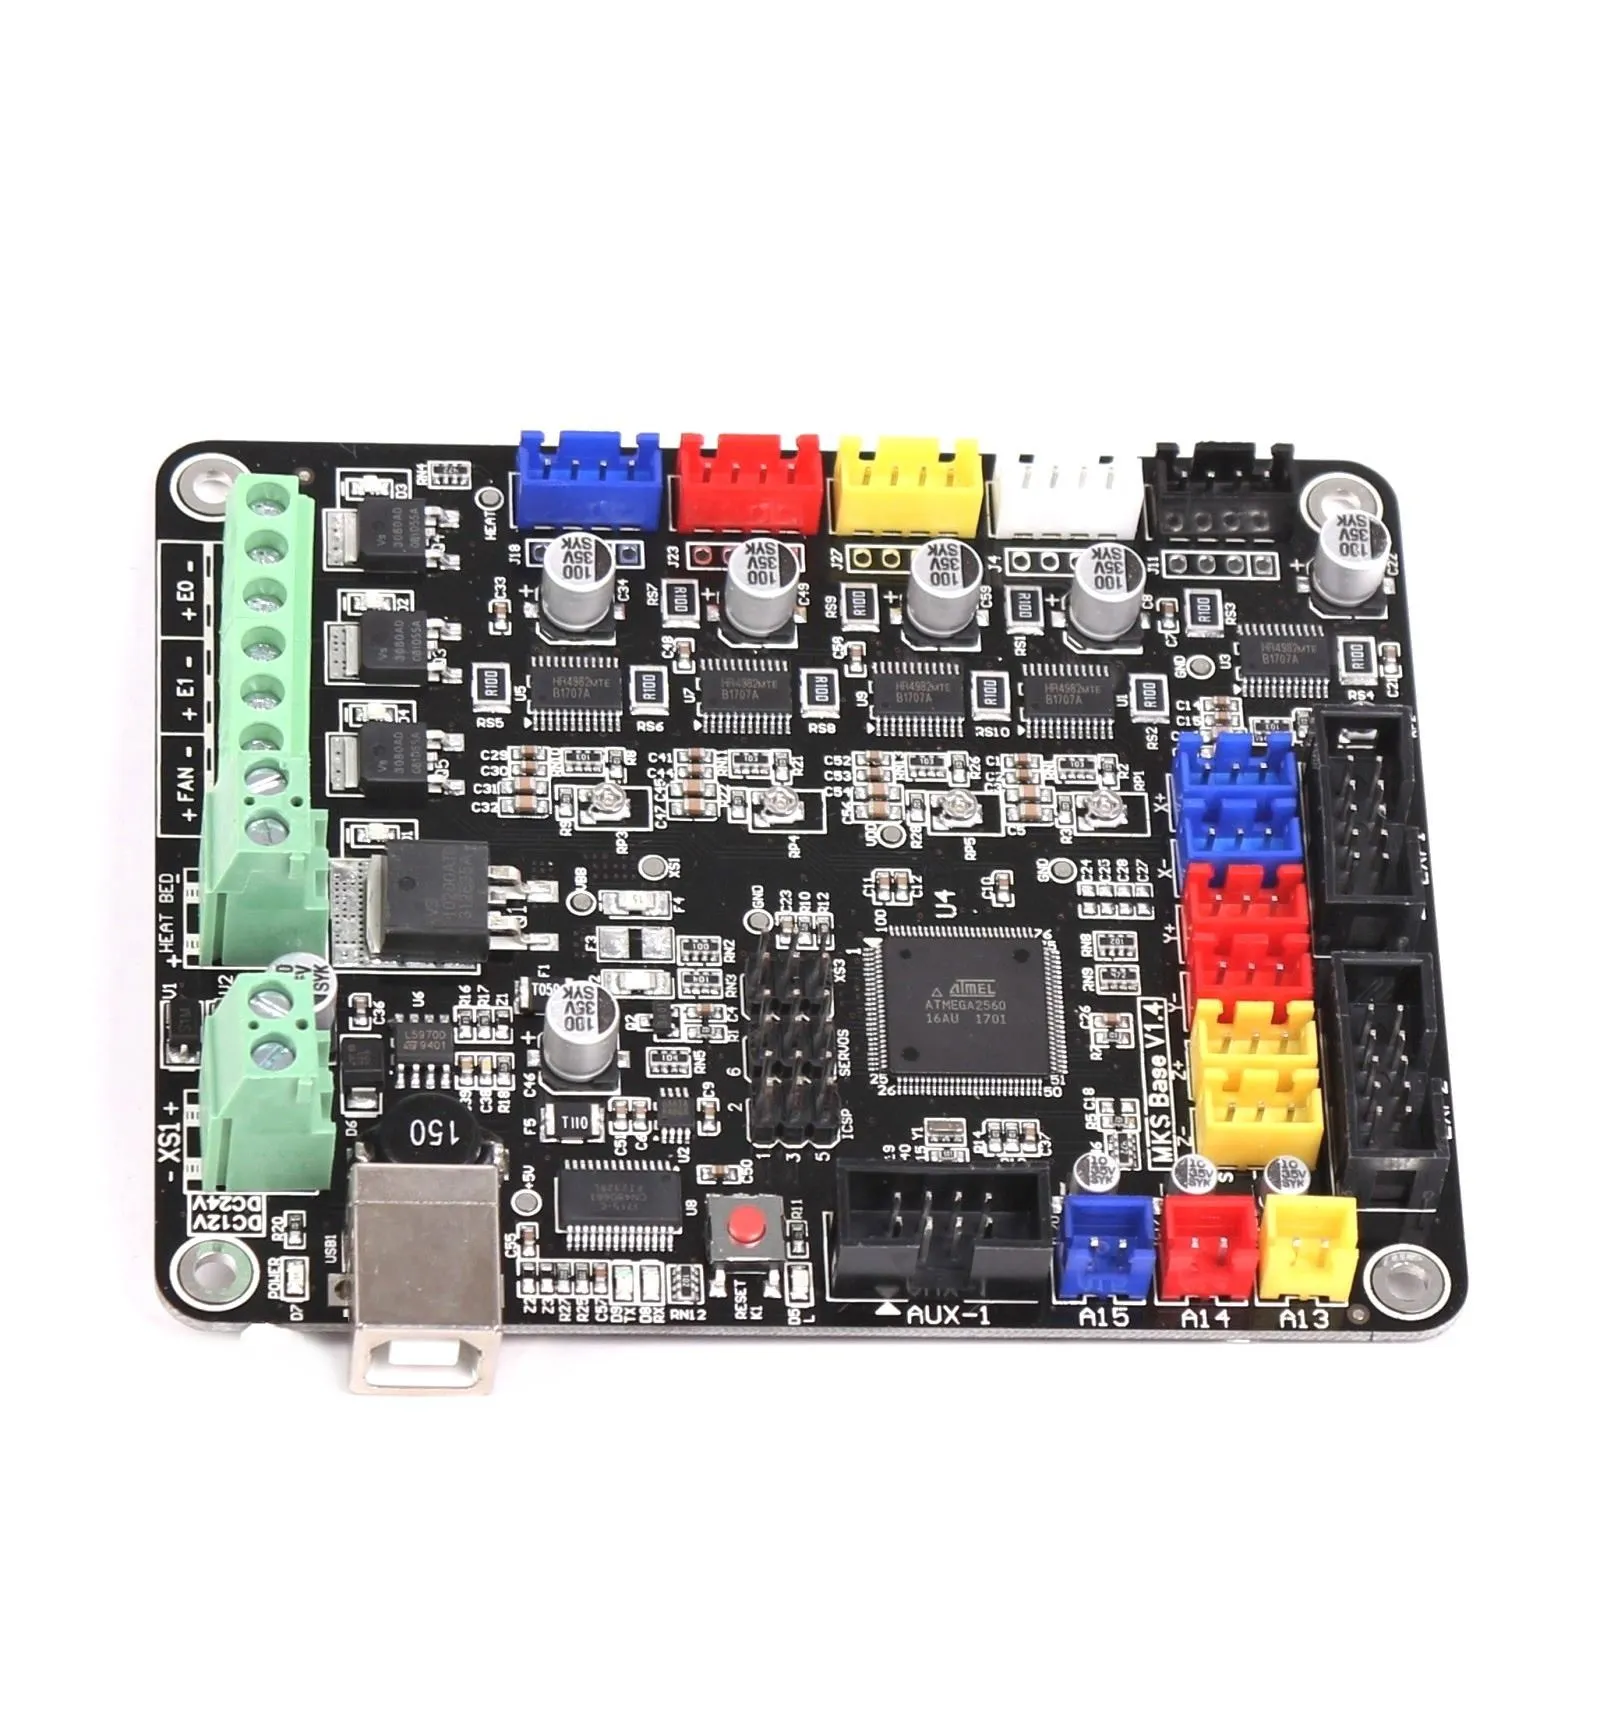
Once the enclosure is built, focus on integrating the electronics. This involves managing the printer’s existing components and any added features. Careful planning and organization are crucial for safety and functionality. Ensure all wires are properly secured and that no components are at risk of overheating. Consider the placement of the power supply unit (PSU) and control board to maximize airflow and accessibility. This stage is crucial for the safety and reliability of the printer.
Managing Heat and Humidity
Proper heat management is essential for preventing overheating and ensuring consistent print quality. Install a thermostat or temperature sensor to monitor the internal temperature. Use fans to circulate air and exhaust heat. If printing with materials like ABS, which require higher temperatures, consider insulating the enclosure to maintain a stable internal climate. Also, monitor the humidity levels inside the enclosure to prevent warping and ensure that the filament stays dry. Consider adding a dehumidifier if you are in a humid environment.
Installing the Electronics
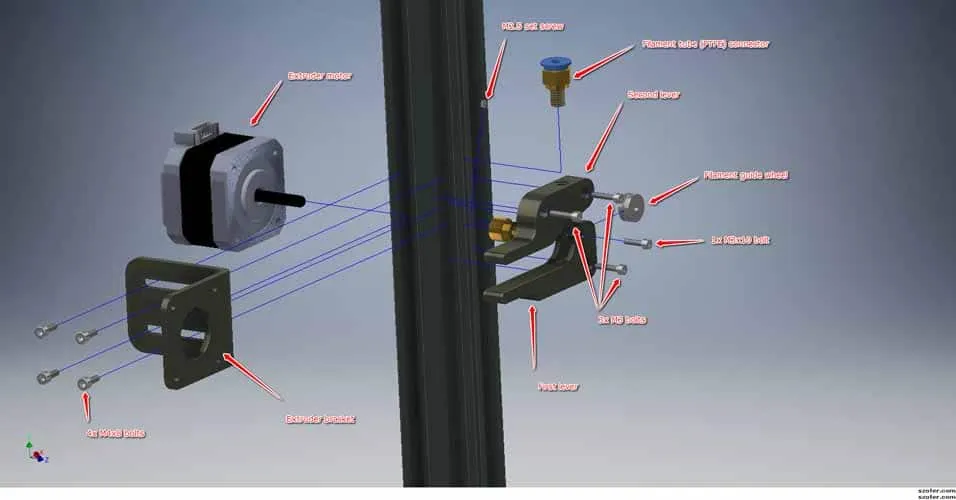
Carefully mount the printer’s control board, power supply, and any additional electronics within the enclosure. Ensure that all components are securely fastened and that wires are neatly routed and secured. Use cable ties or wire management systems to prevent tangling and ensure that components are not touching each other. Make sure that all electronics are accessible for maintenance and upgrades. Following the printer’s instructions, connect all the wires properly and double-check all connections before turning the printer on. Take care when managing any electrical components.
Final Touches and Calibration
After installing the electronics, it’s time for the final touches. This includes testing, calibrating, and adding any accessories to enhance the user experience. A well-finished enclosure is not only functional but also aesthetically pleasing. Take your time and ensure all components function correctly before printing.
Testing and Calibration
Before printing, thoroughly test all functions of the printer. Verify that the bed heats up to the correct temperature, that the hot end extrudes filament, and that all axes move smoothly. Calibrate the printer according to the manufacturer’s instructions, including bed leveling and steps per mm settings. The final calibration will have an impact on the print quality, so it is important to make sure you are calibrating the printer properly. If any problems arise, troubleshoot them before starting a print. This testing phase ensures the printer is ready for optimal performance.
Adding Accessories
Consider adding accessories to enhance the enclosure’s functionality and user experience. This may include a filament spool holder, LED lighting, a webcam for remote monitoring, and a small tool rack. These additions can make it easier to manage your prints and monitor progress. Customize the enclosure to suit your needs. As your experience grows, you can add more enhancements.
Building a Tevo Tarantula electronics enclosure is a worthwhile project that improves print quality, enhances safety, and protects your investment. By following these tips and taking your time, you can create an enclosure that perfectly suits your needs. Happy printing!
