Understanding the Importance of a Dual Extruder Fan
The Tevo Tarantula, a popular 3D printer, can be enhanced significantly with a dual extruder setup, allowing for multi-material or multi-color prints. However, the added complexity brings new challenges, and one of the most critical is effective cooling. A dual extruder fan plays a vital role in ensuring print quality, preventing common issues, and ultimately, achieving successful prints. Without adequate cooling, you’ll likely encounter problems like warping, poor layer adhesion, and stringing. This guide will help you navigate the process of selecting and installing the right dual extruder fan for your Tevo Tarantula to maximize its performance.
Why Cooling is Critical for Dual Extrusion
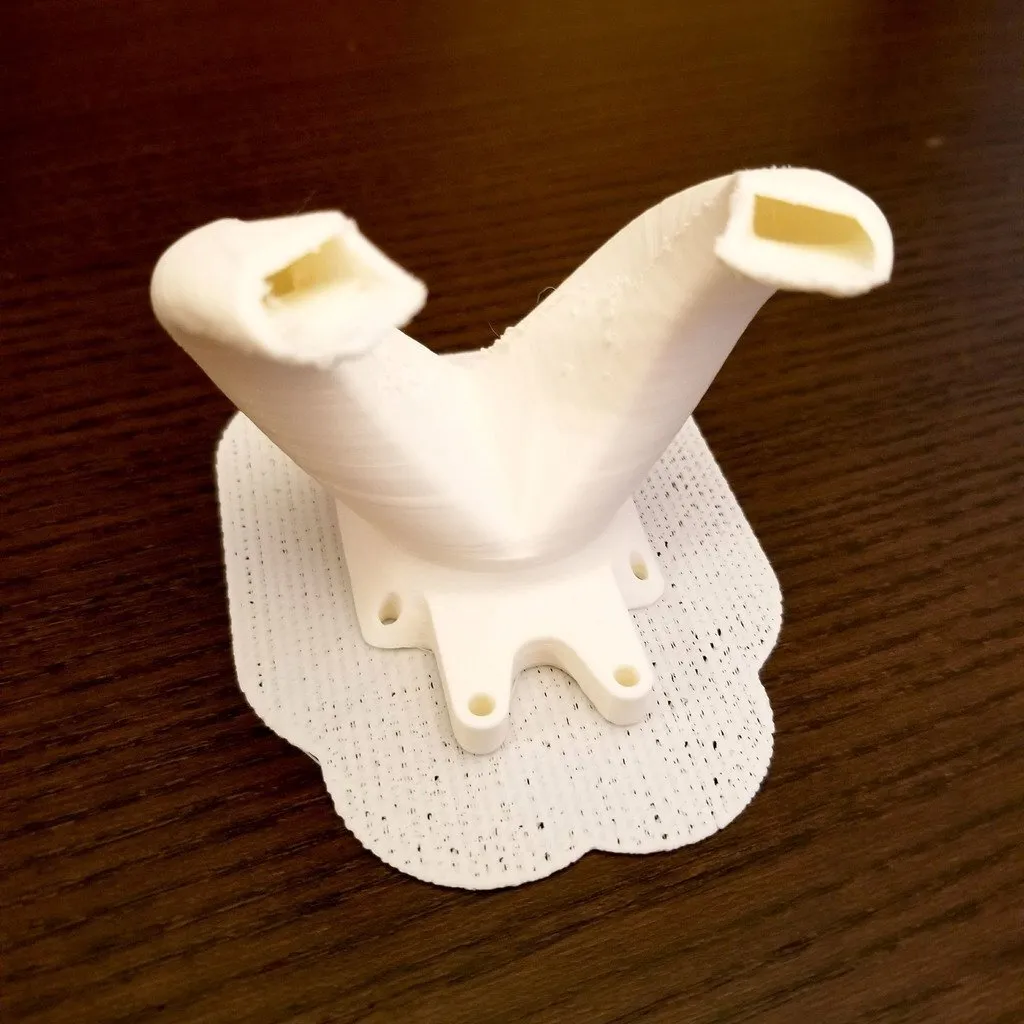
Cooling becomes even more crucial in dual extrusion 3D printing. Each extruder deposits molten plastic onto the build plate, and the speed at which it solidifies directly impacts the final product’s quality. With two extruders, the potential for heat buildup increases, especially in confined spaces like the hot end. Proper cooling controls this heat, preventing the plastic from softening and deforming before it fully cures. This leads to crisper details, stronger parts, and reduced print failures. A well-designed dual extruder fan system efficiently dissipates heat, contributing significantly to overall print accuracy and structural integrity. The image above shows how a dual extruder fan is helping to keep your prints cool (tevo-tarantula-dual-extruder-fan-1.webp).
Avoiding Common Dual Extrusion Problems
Insufficient cooling leads to several issues in dual extrusion. Warping, where the print curls up from the build plate, is a common consequence of uneven cooling. Poor layer adhesion, resulting in weak prints that can easily fall apart, is another significant concern. Stringing, the formation of thin strands of plastic between print features, ruins the surface finish. A proper dual extruder fan minimizes these issues. By providing consistent airflow, the fan helps maintain the proper temperature, preventing warping and ensuring each layer bonds securely to the one below. This results in cleaner prints and a more reliable printing experience.
Choosing the Right Dual Extruder Fan for Your Tevo Tarantula
Selecting the right fan is essential for optimal performance. The Tevo Tarantula has specific requirements, so consider factors like fan type, size, airflow, and noise levels. You’ll also want to make sure the fan is compatible with the existing setup and easy to install. The key is to balance cooling performance with noise and physical constraints. In the subsequent sections, we’ll break down the decision-making process, from fan types to installation steps.
Fan Types Available for Your 3D Printer
Several fan types are suitable for 3D printing, each with pros and cons. Axial fans are the most common, offering a good balance of airflow and noise. They blow air parallel to the axis of rotation and are suitable for cooling hot ends and parts. Radial or blower fans, on the other hand, push air perpendicular to the axis, which is ideal for directing airflow precisely onto the printed part. They can be more effective for cooling overhangs and bridging, but they also tend to be louder. Consider your printing needs and desired level of precision when choosing between the two. Image of the different types of fans (fan-types-3d-printer.webp).
Assessing Fan Size and Specifications
Fan size and specifications are critical. Measure the space available on your Tevo Tarantula’s extruder carriage to ensure the fan fits. Common sizes include 40mm x 40mm, 50mm x 50mm, or even larger, depending on your setup. Pay attention to the voltage (usually 12V or 24V for 3D printers) and the current draw. Higher airflow (CFM - cubic feet per minute) indicates better cooling, but also potentially higher noise levels. The fan’s RPM (revolutions per minute) also impacts performance and noise. Look for fans with a good balance of airflow and noise suitable for your environment. Here is a image for fan size and its specifications (fan-size-specifications.webp).
Materials and Durability Considerations
Choose a fan made from durable materials that can withstand the heat generated by the 3D printing process. The fan blades should be made of high-quality plastic or other materials that won’t deform at high temperatures. Check the fan’s bearing type; ball bearings tend to last longer than sleeve bearings. Also, examine the fan’s housing for robustness. The fan should be designed to withstand the vibrations of the printer. A well-constructed fan ensures longevity and reliable performance.
Factors to Consider for Optimal Performance
Beyond the basics, consider several factors for optimal performance. The fan’s static pressure is an essential specification, especially for radial fans, as it indicates its ability to push air against resistance. A higher static pressure is better for directing airflow through complex geometries. Also, look for fans with good airflow directionality, which can focus the airflow where it’s most needed. Consider how easily the fan can be mounted, whether it includes mounting hardware, and the overall ease of installation. Finally, evaluate the manufacturer’s reputation and reviews to assess the fan’s reliability.
Airflow and Cooling Efficiency

Proper airflow is the key to efficient cooling. The fan’s airflow should be directed toward the hot end or the printed part, depending on your needs. For hot end cooling, ensure the air reaches the heatsink effectively to prevent heat creep, which can cause clogs. For part cooling, the airflow should focus on the printed layers, especially overhangs and bridges. A fan duct helps to direct the airflow precisely, and a well-designed duct minimizes turbulence for better cooling efficiency. The goal is to cool the extruded plastic quickly and evenly to achieve the best print quality.
Noise Levels and Fan Acoustics
Fan noise can significantly impact your printing experience. If the noise level is a primary concern, consider factors that influence acoustics. Lower RPM fans typically produce less noise, but they may also offer less cooling. Some fans feature noise-dampening designs or vibration-reducing mounts to minimize noise. If noise is an issue, explore options like quieter fans or fan controllers that adjust speed based on temperature. The goal is to find a fan that balances cooling needs with your tolerance for noise.
Installing Your New Dual Extruder Fan
Installing a new fan is a straightforward process if you follow the right steps. Before beginning, make sure the printer is turned off and unplugged. Gather the necessary tools, including screwdrivers, a soldering iron (if needed), and any mounting hardware that came with your fan. Taking the time to prepare and organize your workspace simplifies the installation process.
Preparing the Tevo Tarantula for Fan Installation
Start by removing the existing fan, if any. Carefully disconnect the fan wires from the printer’s control board. Next, remove any parts that might obstruct access to the area where the new fan will be mounted. Double-check the space available and ensure that the new fan will fit without interference. It’s helpful to take pictures of the existing setup before disassembly to ensure you can refer to them when reassembling. This will help you avoid making mistakes during the process.
Step-by-Step Fan Installation Guide
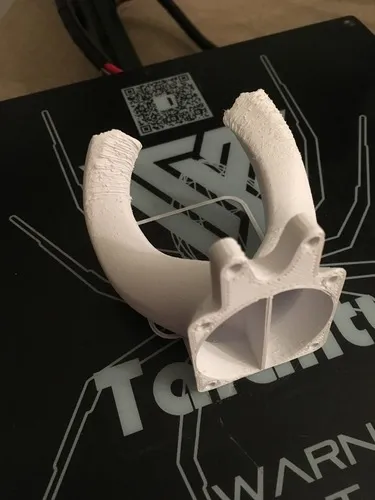
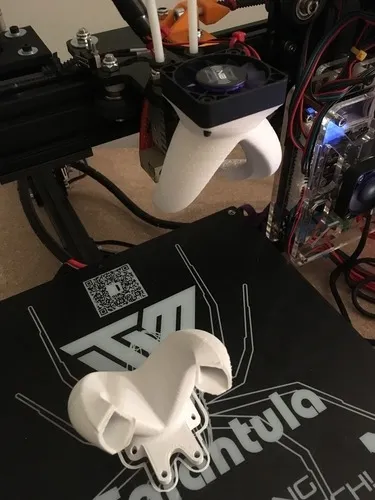
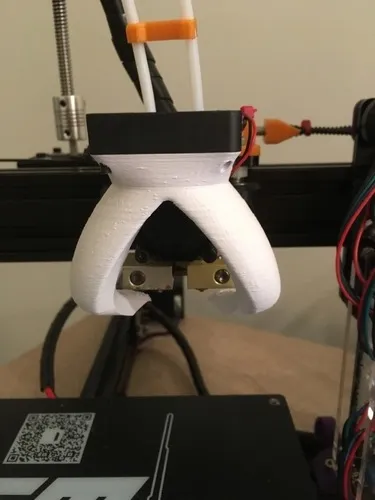
Mount the new fan securely using screws or other mounting hardware. Ensure that the fan is positioned correctly and that the airflow direction is optimized. Connect the fan wires to the appropriate terminals on the control board. If the new fan has a different connector, you might need to splice the wires. Once everything is connected, double-check all connections to ensure they are secure and there are no loose wires. Secure all wires and components carefully. Picture of the installation for reference (tevo-tarantula-fan-installation.webp).
Troubleshooting Fan Installation Issues
During installation, you might encounter issues. If the fan does not turn on, double-check the wiring and ensure that the polarity is correct. Incorrect wiring is a common problem. If the fan is making excessive noise, make sure it is mounted securely and that nothing is obstructing the blades. In case of overheating, check the fan’s direction and that the airflow reaches the required area. If you need to replace the fan’s wires, ensure the wires are securely soldered or connected to the original ones. A picture is very helpful here (troubleshooting-fan-issues.webp).
Fine-Tuning and Calibration

After installation, you might need to fine-tune the fan’s settings. This may involve adjusting the fan speed in the printer’s firmware or slicer software. Calibrating the fan ensures that it works effectively and optimizes cooling performance. Start by testing prints and observing their quality, paying attention to details like layer adhesion, warping, and surface finish. This will give you feedback to improve your printing process.
Ensuring Proper Fan Settings in Your Slicer
Your slicer software is critical for fan control. In your slicing settings, locate the fan speed or cooling settings. Adjust the fan speed based on the type of material you are using. For example, some materials, such as PLA, benefit from more cooling, while others, such as ABS, need less cooling. Experiment with different fan speeds during the first layers and subsequent layers to prevent warping and improve adhesion. Start with a lower speed during the first layers and increase it gradually. Picture of the fan settings (slicer-fan-settings.webp).
Adjusting Fan Speed and Cooling Profiles
Create custom cooling profiles to optimize prints for various materials and print characteristics. Most slicers allow you to control fan speed at different print heights or layer times. This can be beneficial for complex models with overhangs or fine details. Experiment with different fan speed settings to ensure the part has enough time to cool and that the layers bond securely. Keep in mind that the appropriate fan speed will depend on your printer, the ambient temperature, and the material you are printing. Therefore, it might need some tweaking and fine-tuning.
Optimizing Print Quality with Your New Fan

A properly functioning dual extruder fan significantly improves print quality. By effectively cooling the extruded plastic, the fan reduces warping, prevents stringing, and enhances dimensional accuracy. It allows for faster printing speeds and more complex prints. Proper cooling will help maintain sharp details and improve the overall finish. Experimenting with different fan speeds and settings is often necessary to get the best results for each print. Remember that a well-chosen fan is a valuable investment in your 3D printing setup.
Improving Layer Adhesion and Surface Finish
Layer adhesion and surface finish are improved with better cooling. Uniform cooling ensures each layer bonds with the previous one, resulting in a stronger print. Good cooling reduces the chances of warping, and the printed model’s surface becomes smoother. Optimal cooling prevents the formation of stringing, which improves the surface finish. Achieving excellent layer adhesion and surface finish is essential for both the aesthetics and functionality of the printed parts. Image of the improved layer adhesion (layer-adhesion-surface-finish.webp).
Maximizing Print Speed without Sacrificing Quality
By effectively cooling the extruded plastic, a well-chosen dual extruder fan allows you to increase print speed without sacrificing quality. As the plastic cools more rapidly, it solidifies faster, and you can move on to the next layer sooner. However, always make sure that the cooling is sufficient to prevent warping and other issues. It might require experimentation with both print speed and fan speed to strike the right balance for optimal printing. In conclusion, a proper fan is a valuable addition to the Tevo Tarantula 3D printer and increases print quality and speed.